How to Use Minikube to Create Kubernetes Clusters and Deploy Applications
In my previous post, I introduced the Kubernetes platform and discussed some key concepts. Now we are going to create new Kubernetes cluster using Minikube, a lightweight Kubernetes implementation that creates a VM on your local machine and deploys a simple cluster containing only one node. Minikube is available for Linux, macOS and Windows systems.
The Minikube CLI provides basic bootstrapping operations for working with your cluster, including start, stop, status and delete. We are going to use kubectl utility to deploy and manage applications on Kubernetes. Also, you can inspect cluster resources; create, delete and update components and look at new clusters.
Step 1: Minikube Installation
Download the latest release with the command. This is for Linux, if you’re using other OS, please refer to the previous post.


Check the download by running the minikube version command:


To check what are the available commands, try minikube from the terminal:
 $
$
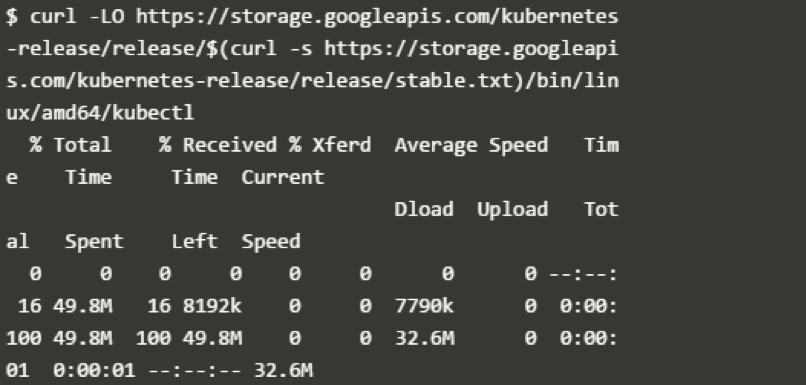
Step 2: kubectl Installation
Download the latest release with the command:

Make the kubectl binary executable:
![]()
Move the binary in to your PATH:
![]()
To check the available kubectl commands, run kubectl from the terminal:


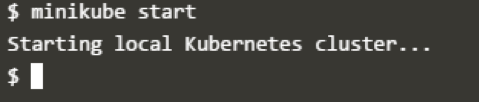
Step 3: Create a Local Cluster
Start the cluster, by running the minikube start command:
Once the cluster is started, we have a running Kubernetes local cluster. Minikube has started a virtual machine for you, and a Kubernetes cluster is now running in that VM.
To interact with Kubernetes, we’ll use the command line interface, kubectl. To check if kubectl is installed you can run the kubectl version command:
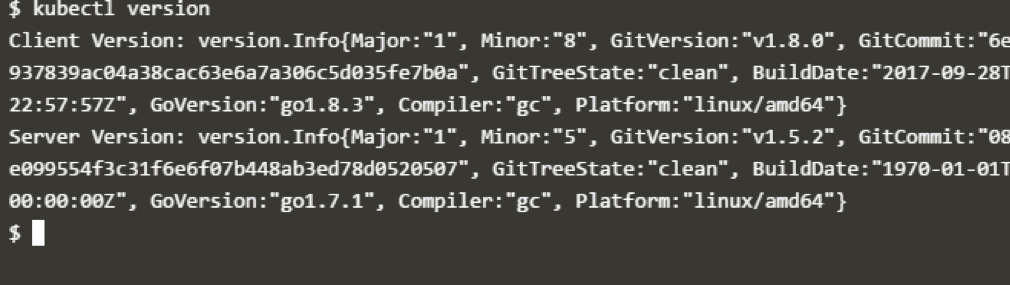
As you can see, kubectl is configured and we can see that both the version of the client and as well as the server. The client version is the kubectl version; the server version is the Kubernetes version installed on the master. You can also see details about the build.
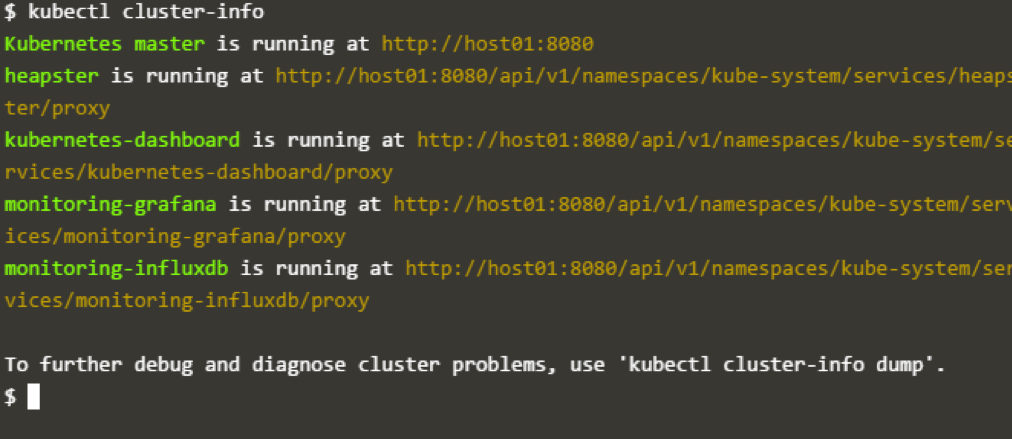
To view the cluster details, run kubectl cluster-info:
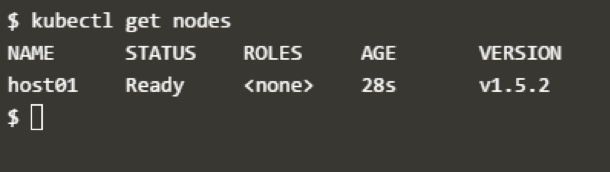
To view the nodes in the cluster, run the kubectl get nodes command:
Step 4: Deploy ngnix App to One of the Nodes of the Cluster
Let’s run our first app on Kubernetes with the kubectl run command. The run command creates a new deployment. We need to provide the deployment name and app image location (include the full repository url for images hosted outside Docker hub). I have provided ngnix image. If we want to run the app on a specific port so we could add the –port parameter as well:

Congrats! We have just deployed first application by creating a deployment.
Following is what the command has done for us:
- Searched for a suitable node where an instance of the application could be run (we have only one available node).
- Scheduled the ngnix application to run on that Node.
- Configured the cluster to reschedule the instance on a new Node when needed.

Once the application instances are created, a Kubernetes deployment controller continuously monitors those instances. If the Node hosting an instance goes down or is deleted, the deployment controller replaces it.
A Pod is a Kubernetes abstraction that represents a group of one or more application containers (such as Docker or rkt) and some shared resources for those containers. Those resources include:
- Shared storage, as volumes.
- Networking, as a unique cluster IP address.
- Information about how to run each container, such as the container image version or specific ports to use.
A Pod always runs on a Node. As discussed earlier, Node is a nothing but a worker machine in Kubernetes and may be either a virtual or a physical machine, depending on the cluster. Each Node is managed by the Master. A Node can have multiple pods, and the Kubernetes master automatically handles scheduling the pods across the Nodes in the cluster. The Master’s automatic scheduling takes into account the available resources on each Node.
Every Kubernetes Node runs at least:
- kubelet – responsible for communication between the Kubernetes Master and the Nodes
- Container runtime (Docker, rkt)
For example, a Pod might include both the container with your ngnix app as well as a different container that feeds the data to be published by the ngnix webserver. The containers in a Pod share an IP Address and port space, are always co-located and co-scheduled and run in a shared context on the same Node.
To list your deployments, use the get deployments command:

Here we can see that there is one deployment running a single instance of the app.
Here are some useful kubectl commands:
- kubectl get– list resources
- kubectl describe– show detailed information about a resource
- kubectl logs– print the logs from a container in a pod
- kubectl exec– execute a command on a container in a pod
Step 5: Expose ngnix App Outside of the Cluster
To expose the app on to the outside world, use expose deployment command:

Pods that are running inside Kubernetes are running on a private, isolated network. By default, they are visible from other pods and services within the same kubernetes cluster, but not outside that network. On some platforms (for example, Google Compute Engine) the kubectl command can integrate with your cloud provider to add a public IP address for the pods to do this run.
To see the ngnix landing page, you can check at the http://localhost:80
Also note: To access your nginx landing page, you also have to make sure that traffic from external IPs is allowed. Do this by opening a firewall to allow traffic on port 80.

![]()
This should print the service that has been created, and map an external IP address to the service. Where to find this external IP address depends on the environment you run in. For instance, for Google Compute Engine the external IP address is listed as part of the newly created service and can be retrieved by running the above command.
A Service in Kubernetes is an abstraction that defines a logical set of Pods and a policy by which to access them. Services enable a loose coupling between dependent Pods. A Service routes traffic across a set of Pods. Services are the abstraction that allow pods to die and replicate in Kubernetes without impacting your application. Discovery and routing among dependent Pods (such as the frontend and backend components in an application) are handled by Kubernetes Services.
Congrats! we have successfully created ngnix deployment. In the next section, we will learn what a service mesh is and why we need it, and look at an example of implementing service mesh.